
This week I’ve started painting again. It’s been 4 months since I lifted a brush and I’m loving it. At the same time I’m creating content for my course Fix & Finish and this has made me more thoughtful about my process as I try and break it down clearly for my students.

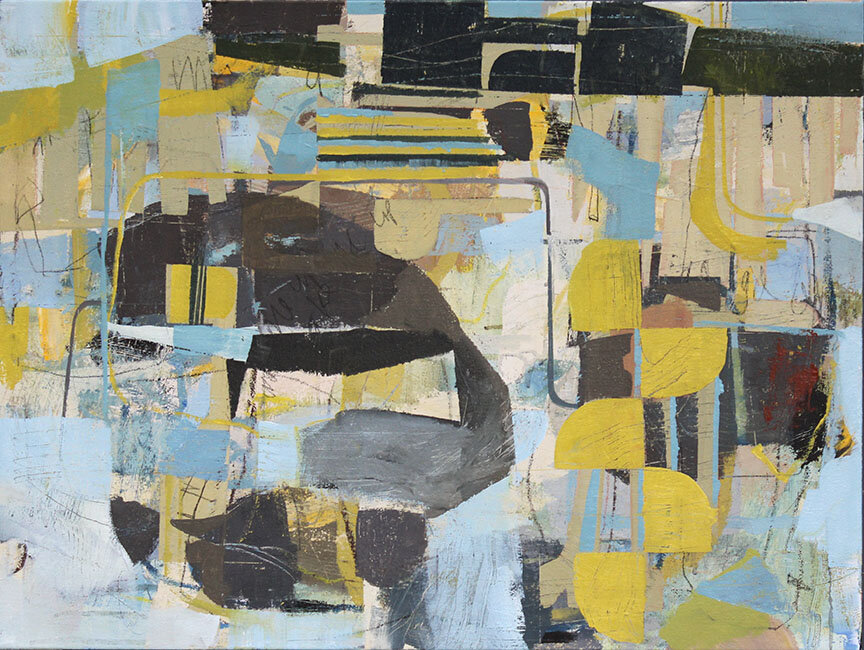
Starting Stage
I have defined the painting process into 4 distinct stages: the starting where the prime concern is applying paint thickly to the canvas, playing with media and maintaining strong value contrasts.
The middle where you begin to respond to what you see in front of you, asking the question: what do I like here? Having established exactly what it is that excites you, the idea is to do more of what you like but with some variation. Maybe changing size of the brush or the way the paint is applied. This middle stage is when you start to apply the Principles of Design, Value, and Colour and looking for a direction that the painting is going to take. What is this painting going to be about?
This stage is where you can spend a lot of time feeling a little lost. But rotating the canvas, seeing the composition differently each time you start working on it and not feeling in any hurry are good practices to follow. This can also be a really fun stage, as the stakes are low and changes can be made without the fear of ‘ruining’ anything. Eventually something will emerge and point the way forward.

The late-middle stage is getting clear on a colour hero and aligning the other colours in the painting to the hero – making sure there are no sneaky upstagers!! Also, at this stage of the painting editing other elements that are superfluous is important to do. This is clarifying, so that the viewer isn’t confused when looking at the finished work.
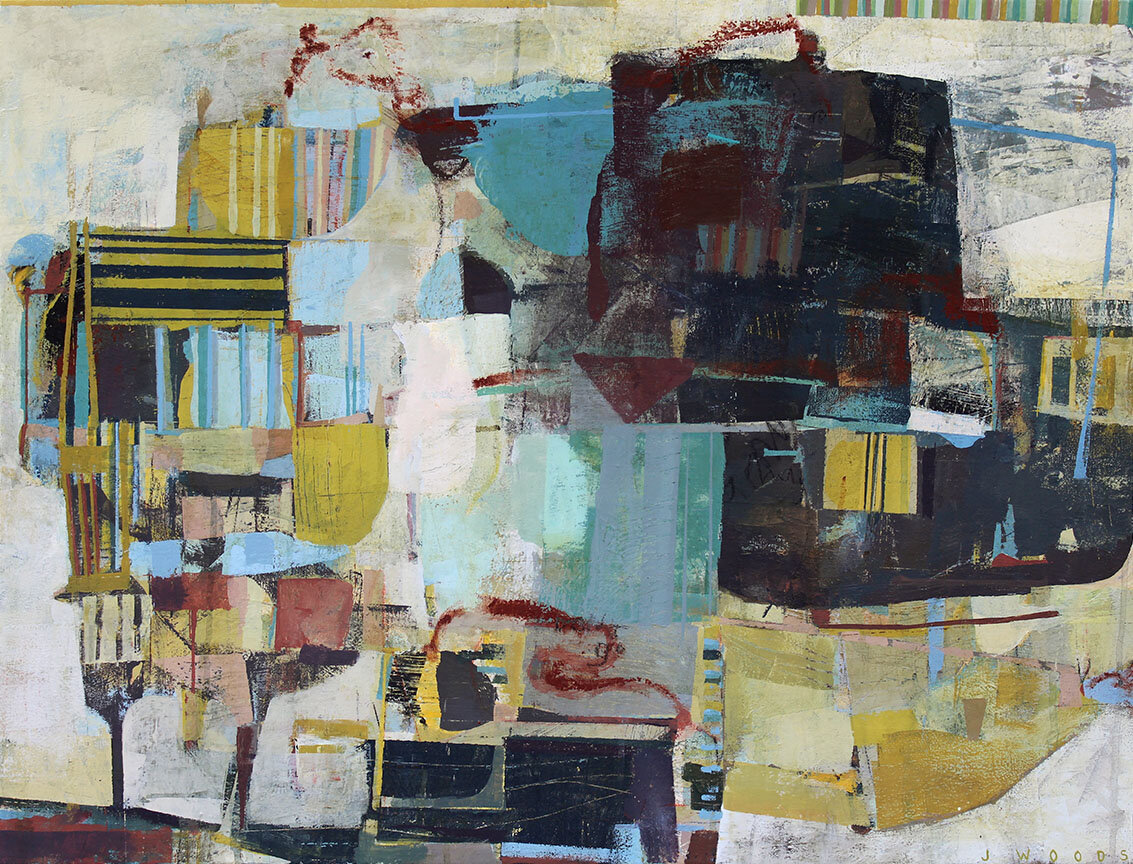
Finally, the finishing stage when fine touches are added or little moves are made to strengthen the overall design, lead the eye around the composition and just turn up the volume on the star players. This stage involves a lot of standing and looking and minute scrutiny of how all elements contribute to the overall painting.
Then, when all nagging thoughts are extinguished it’s time to sign the painting and allow it to ‘rest’ like a good piece of cooked meat! No more poking and prodding, in fact it’s best to walk away and just view it from the corner of your eye.
Unlike a piece of meat, a painting needs to rest for a good few weeks, maybe even a few months. Recently, a few of my resting pieces have started to appear a little underdone… so I will take them back into the studio for a little light basting and braising!
It’s helpful to be clear about the stage of the painting you are in, and what the objective of each stage is. It’s also important to take time moving through the stages and not rush to the end. No-one likes their meat raw on the inside after all!!
I must stop with the meat analogy.
I have a downloadable PDF with the outline of the 4 stages and questions to ask yourself when your painting at each stage. This would be useful on your studio wall.
As I said earlier, I cover this content in more depth in my course Fix & Finish. If you’d like to know more about it click the link.
If you want to hang out with me and a growing community of creatives jump into the Upbeat Artists Group on Facebook.